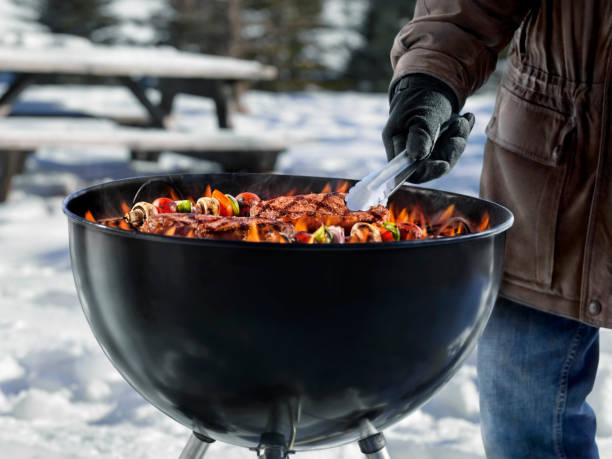
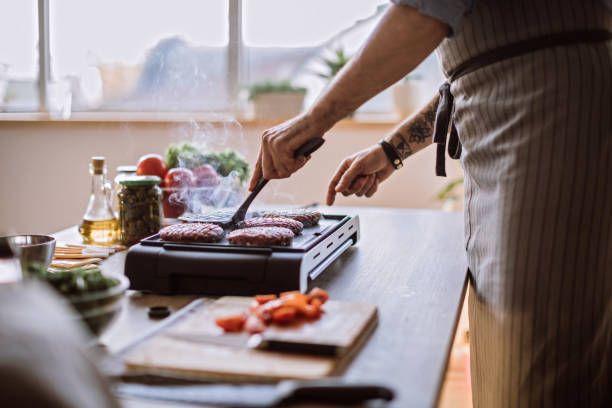
No wonder it would be tempting to add a woody flavor to your food, and to get that, the best gravity fed charcoal grill is what you exactly need.
Ahh, that sounds delicious, but how is this possible? Isn’t it sound too good to be true? Well, luckily, the gravity fed grills are precisely cooking that way.
What is a gravity fed grill?
The gravity fed grills, unlike regular grills, rely on gravity fed charcoal system for consistent heat sources throughout the cooking process. These grills are usually referred to as gravity, BBQ, or charcoal smoker grills that work with a unique design for consistency in temperature and heat by offering more controls.
The gravity fed grill, with the help of gravity, makes charcoal burn for extended hours on the end. These grills have a hopper, similar to a pellet grill that can be filled charcoal lumps, charcoal, or other wood chunks.
Personally, I recommend choosing charcoal lumps for gravity fed grills because they burn and heat up quickly regardless of briquettes or wood pellets. What you have to do is simply lit the charcoal (usually placed on the bottom of the hopper), set the temperature and the grill will do the rest automatically.
How a gravity fed grill work?
The grill comes with an integrated electronic temperature system with a fan attached that makes the charcoal burn for a long time with a consistent and uniform temperature. Commonly, the hopper capacity for charcoal varies for lumps and briquettes. For lumps, it can hold 10 lbs. while for charcoal briquettes, it can hold more, around 16 lbs. This ensures the 8 hours of burning of charcoal consistently without reloading the fuel.
Once the charcoal is loaded in the hopper, forming a controlled stack, it begins to burn with the ignition and for temperature consistency, it automatically feeds the firebox because of gravity. This maintains a steady heating during the whole cooking process.
In the cooking chamber, where you can grill and smoke, The heat generated by the burning charcoal rises through the cooking chamber, providing even and indirect heat to the food.
Gravity-fed grills often come equipped with dampers and vents to control airflow, which, in turn, helps regulate the temperature. The controlled release of heat and smoke contributes to a more predictable and stable cooking environment.
These grills are flexible and versatile; you can sear, smoke, or grill on a gravity fed charcoal grill with just a single push button. These are less complicated and user-friendly grills that cut out the unnecessary hassle, and you will get the smoky and charcoal flavor you desire.
Key features of the best gravity fed charcoal grills
The gravity fed grills are a great option as they offer multiple reasons to be liked. These advantages of having the best gravity fed charcoal grill include
- Cooking at a consistent temperature without any hassle of fuel refilling
- The temperature is controlled and remains steady throughout the cooking process
- You can adjust the temperature in a few minutes
- They are versatile, you can use them for roasting, grilling, and smoking, according to your requirements
- They are easy to use, and they require less constant monitoring compared to some other types of smokers.
With all these plus points, when I researched more, I got to know a few downsides as well. The disadvantages of gravity fed grills that I found are
- They are costly compared to the traditional grills
- It is difficult to master the temperature for beginners
- It heats at one temperature, lacks multiple cooking zones
What is the best gravity fed charcoal grill model?
The most popular and the best gravity fed charcoal grill model suggested by 4seasongrills are
Masterbuilt, who were the pioneers in launching the gravity-fed charcoal grill for the convenience of people to who want dual and desired flavor in their meals. Since they have patented their design, the gravity grill models are limited.
Other than Masterbuilt, you can find Char-Griller 980 Gravity Fed Charcoal grill as another option which is owned by the same company.
However, the popular Gravity Fed Charcoal Grill Models are
Product Name Cooking Area Hopper Capacity Check Price Gravity 560 560 sq. in. 10 lbs. Gravity 800 800 sq. in. 10 lbs. Gravity 1050 1080 sq. in. 10 lbs. Char-Griller 980 980 sq. in. 7 lbs.

So, let’s get started with the reviews for the two best gravity fed charcoal grills, Masterbuilt Gravity Fed 1050 and Char Griller 980.
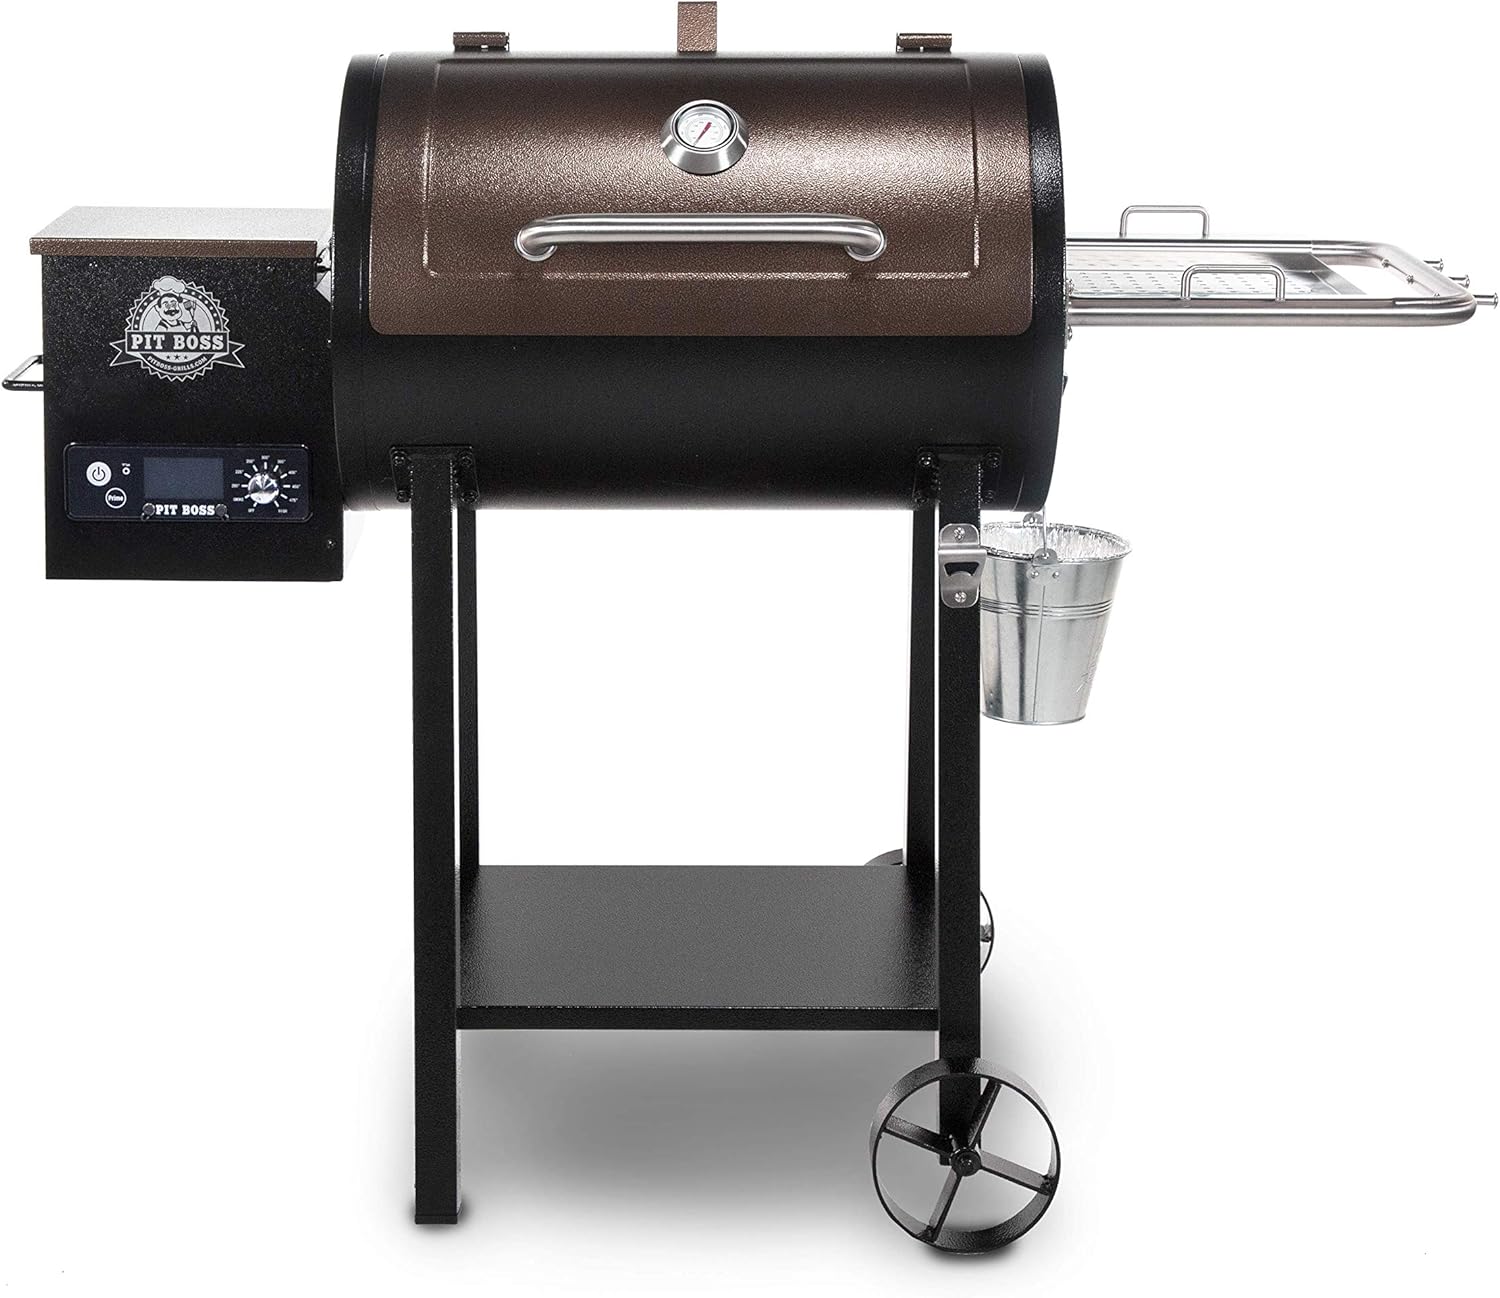
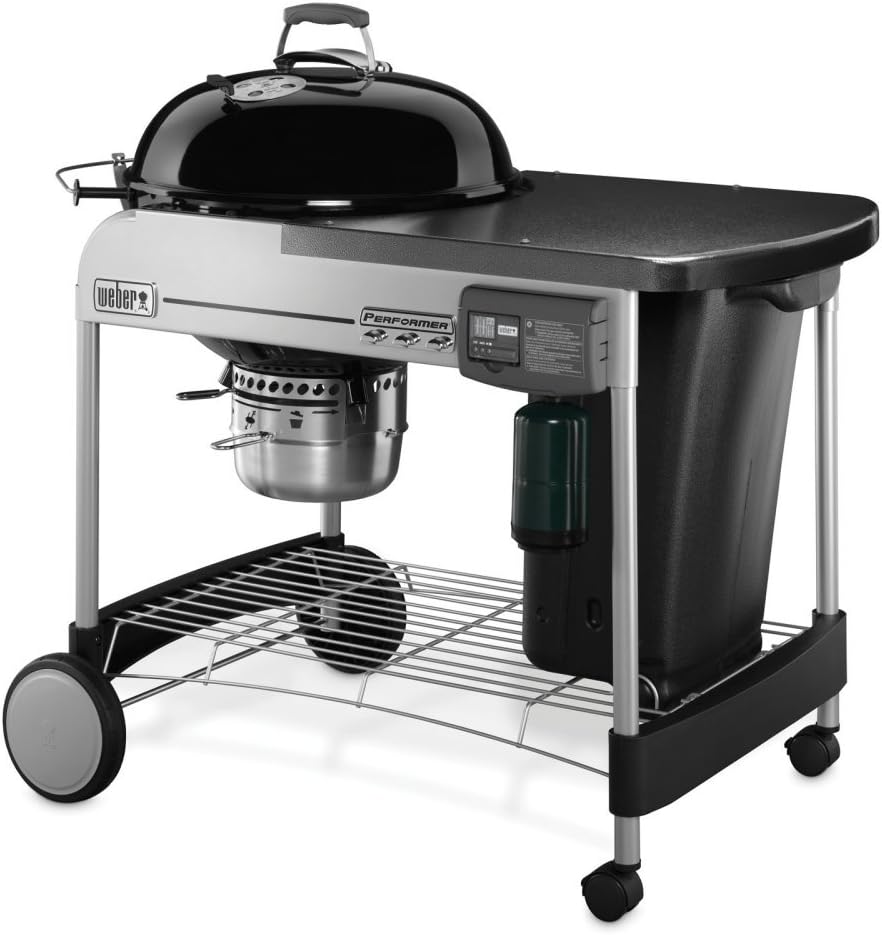
The Masterbuilt Gravity 1050 | Gravity Fed Grill
As the best gravity fed charcoal grill, Masterbuilt 1050 never fails you in any aspect. On this grill, you can sear, smoke, and grill at slow or high temperatures as per your requirements. Here, it is all explained in detail.
Masterbuilt Gravity 1050 Overview

Masterbuilt Gravity grill series is available in three different variants: 560, 800, and 1050. However, the most recommended option is this one. What I liked most about this grill is that I don’t have to get my hands dirty with the charcoal using this grill. Here is a quick peek at its specifications.
| Specification | MasterBuilt 1050 |
| Cooking Space | 1080 sq. in. |
| Hopper Capacity | 10 lbs. for lumps, 16 lbs. Briquettes |
| Single-hopper Cooking time | 10 hours approximately |
| Cooking Grates | Cast iron, reversible |
| Temperature Range | 225 to 700 F |
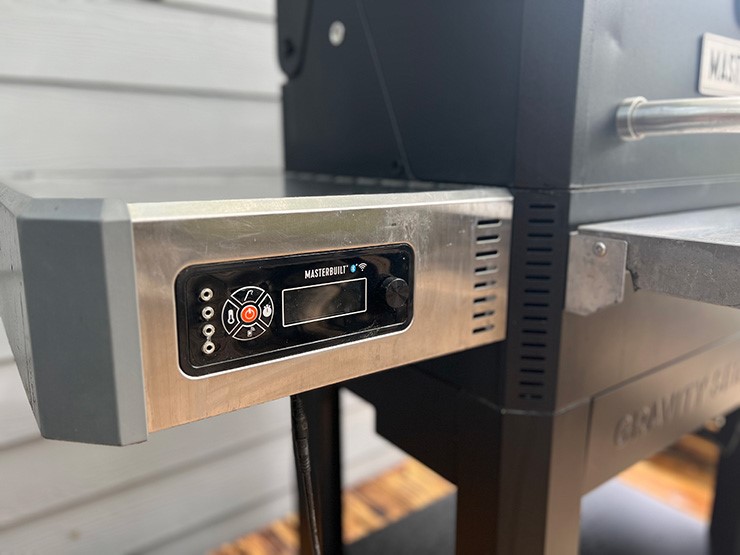
| Fan | Digital Fan |
| Connectivity | Bluetooth and WiFi |
| Warranty | 1 year |
1. Temperature
The Masterbuilt Gravity Fed Charcoal grill heats up quickly in around 10 minutes. It ranges from 225 degrees F to 700 degrees F. For slow cooking or slow smoking, a temperature of 225 degrees F is recommended. To get the perfect searing, it takes another 5 to 7 minutes to reach 225 degrees temperature.
Masterbuilt can hold the same temperature for hours. Read more about charcoal smokers.
2. Hopper Capacity
All the gravity-fed charcoal grills by Masterbuilt come with a generous hopper capacity; however, it depends on the form of charcoal you choose. You can fill up 10 lbs. of charcoal lumps and 16 lbs. of charcoal in briquettes.
3. Cooking Area
The Masterbuilt grill offers great cooking space with 1000 sq. in. of area where you can cook easily. Whereas the other models have 560 sq. in. and 800 sq. in.
It depends on the number of family members, which will help to determine your gravity fed charcoal grill.
How to use Masterbuilt 1050 Gravity Fed Charcoal Grill?
This grill is user-friendly and does not require much manual work; fill the hopper with charcoal (whichever form you prefer) and light it.
Do not forget to remove the damper on the sides of the hopper before you light the charcoal grill that slides out. Give charcoal a few minutes once you have lit it and shut the hopper. Set the desired temperature through the control panel and let your meal cook.
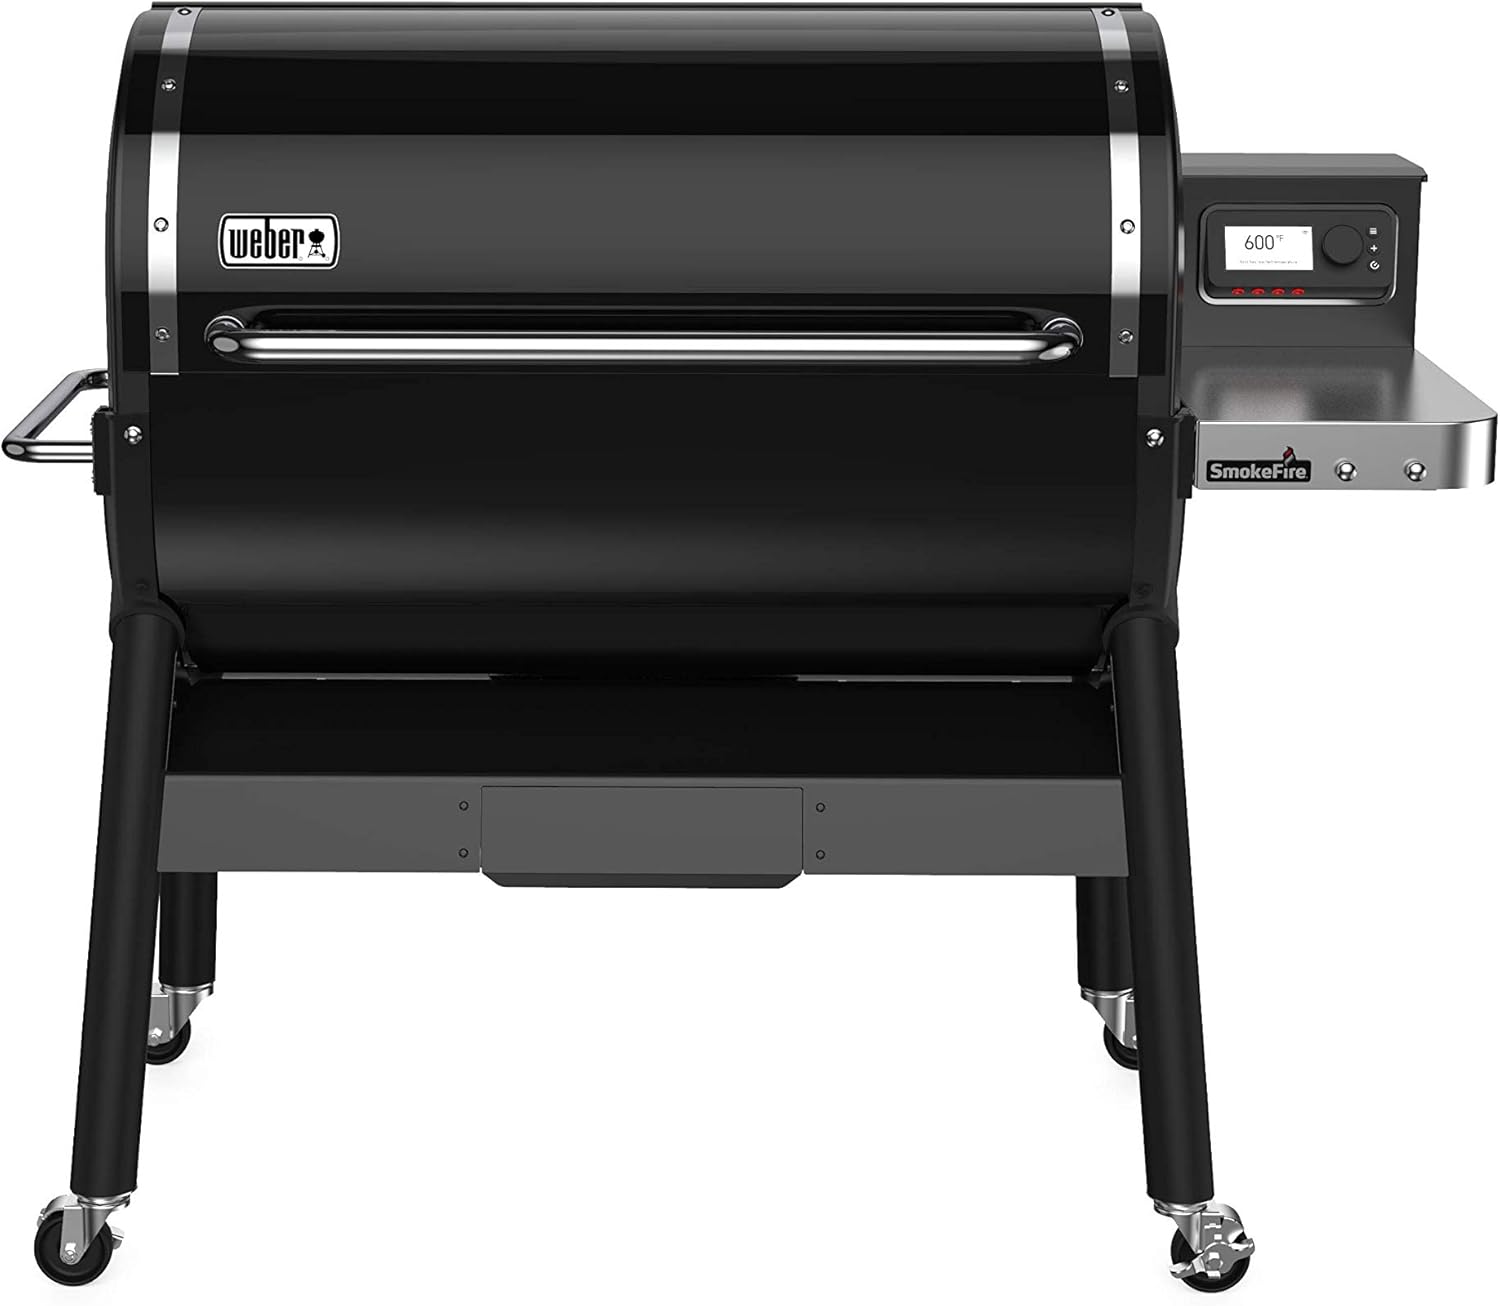
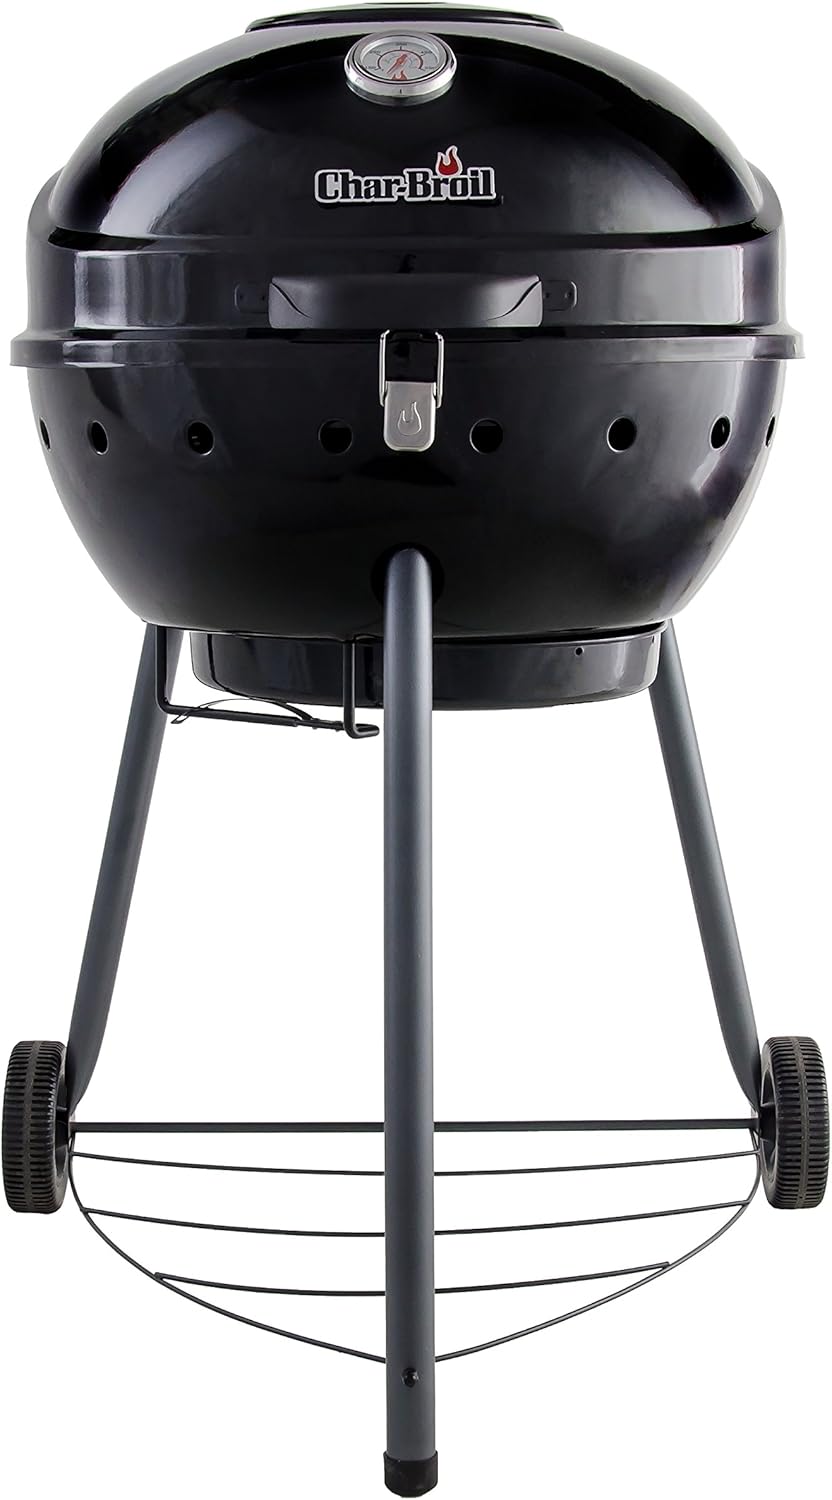
The Char Griller Gravity Fed Grill 980
The next best gravity- fed charcoal grill is Char-Griller Gravity 980. This charcoal grill is also owned by the same patented company. Hence, you might not feel much difference between it and the Masterbuilt Charcoal Grill Series.

| Specification | Char Griller Gravity 980 |
| Cooking Space | 980 sq. in. |
| Hopper Capacity | 7 lbs. for lumps, 16 lbs. Briquettes |
| Single-hopper Cooking time | Porcelain coated hours |
| Cooking Grates | PorCast iron, reversible |
| Temperature Range | 200 to 700 F |
| Fan | Precision Control Fan |
| Connectivity | Bluetooth and WiFi |
| Warranty | One year |
Design
Char-grill is designed similarly to the Masterbuilt gravity fed grills, but it appears more like the traditional grills. If it matters, you have two color options: blue and red.
Charcoal Grill lighting
To use the Char-Griller Gravity Fed 980, simply load the charcoal hopper with your preferred charcoal, insert a firestarter into the designated slot at the bottom, let it ignite for a few minutes, and then close the hopper. Adjust the grill’s temperature effortlessly using the control panel to achieve your desired cooking conditions.
Cooking Area
Char Griller features a generous cooking area; the Char-Griller Gravity Fed 980 provides ample space for grilling, smoking, and roasting. The large cooking surface caters to the needs of both backyard barbecue enthusiasts and those hosting gatherings.
Gravity Feed System
The gravity feed system is a standout feature of this grill, offering a consistent and controlled charcoal supply. This design ensures even heating throughout the cooking chamber, making it easier to maintain precise temperatures for a variety of cooking styles.
Temperature Control
Equipped with a digital control panel, the Char-Griller Gravity Fed 980 provides users with precise temperature control. This digital interface allows for easy adjustments, making it convenient to achieve and maintain the desired cooking temperature.
Versatility
This grill is a versatile outdoor cooking solution, suitable for smoking, grilling, roasting, and more. The multifunctional design caters to various culinary preferences, providing users with flexibility in their outdoor cooking adventures.
Summing it Up | Best Gravity Fed Charcoal Grill
The gravity fed grills are the best reliable option for outdoor grilling enthusiasts. These grills, are distinguished by their innovative gravity feed systems, with a unique design that ensures a steady supply of charcoal, resulting in a stable and uniformity in temperature throughout the cooking process.
The best part about these grills is that they provide ease and minimize the inconvenience of fuel feeding. Hence, if you are a lover of food cooked low and slow, then you must get the gravity fed charcoal grill.
If you are looking for more information on a variety of grills, continue to 4seasongrills.com